Showing posts with label Party. Show all posts
Showing posts with label Party. Show all posts
MeePaw Frosts a Cake for Eisley
Eisley's parents held her 1st birthday party at our house. Mama and baby came over the day before and Eisley and I played while mama piped frosting on 100 mini cupcakes. They turned out so cute!
She also made a layer cake using canning lids lined with aluminum foil for cake pans. She had loved the cake Bob had made for her reception so at this point sure turned Eisley's first birthday cake over to MeePaw.
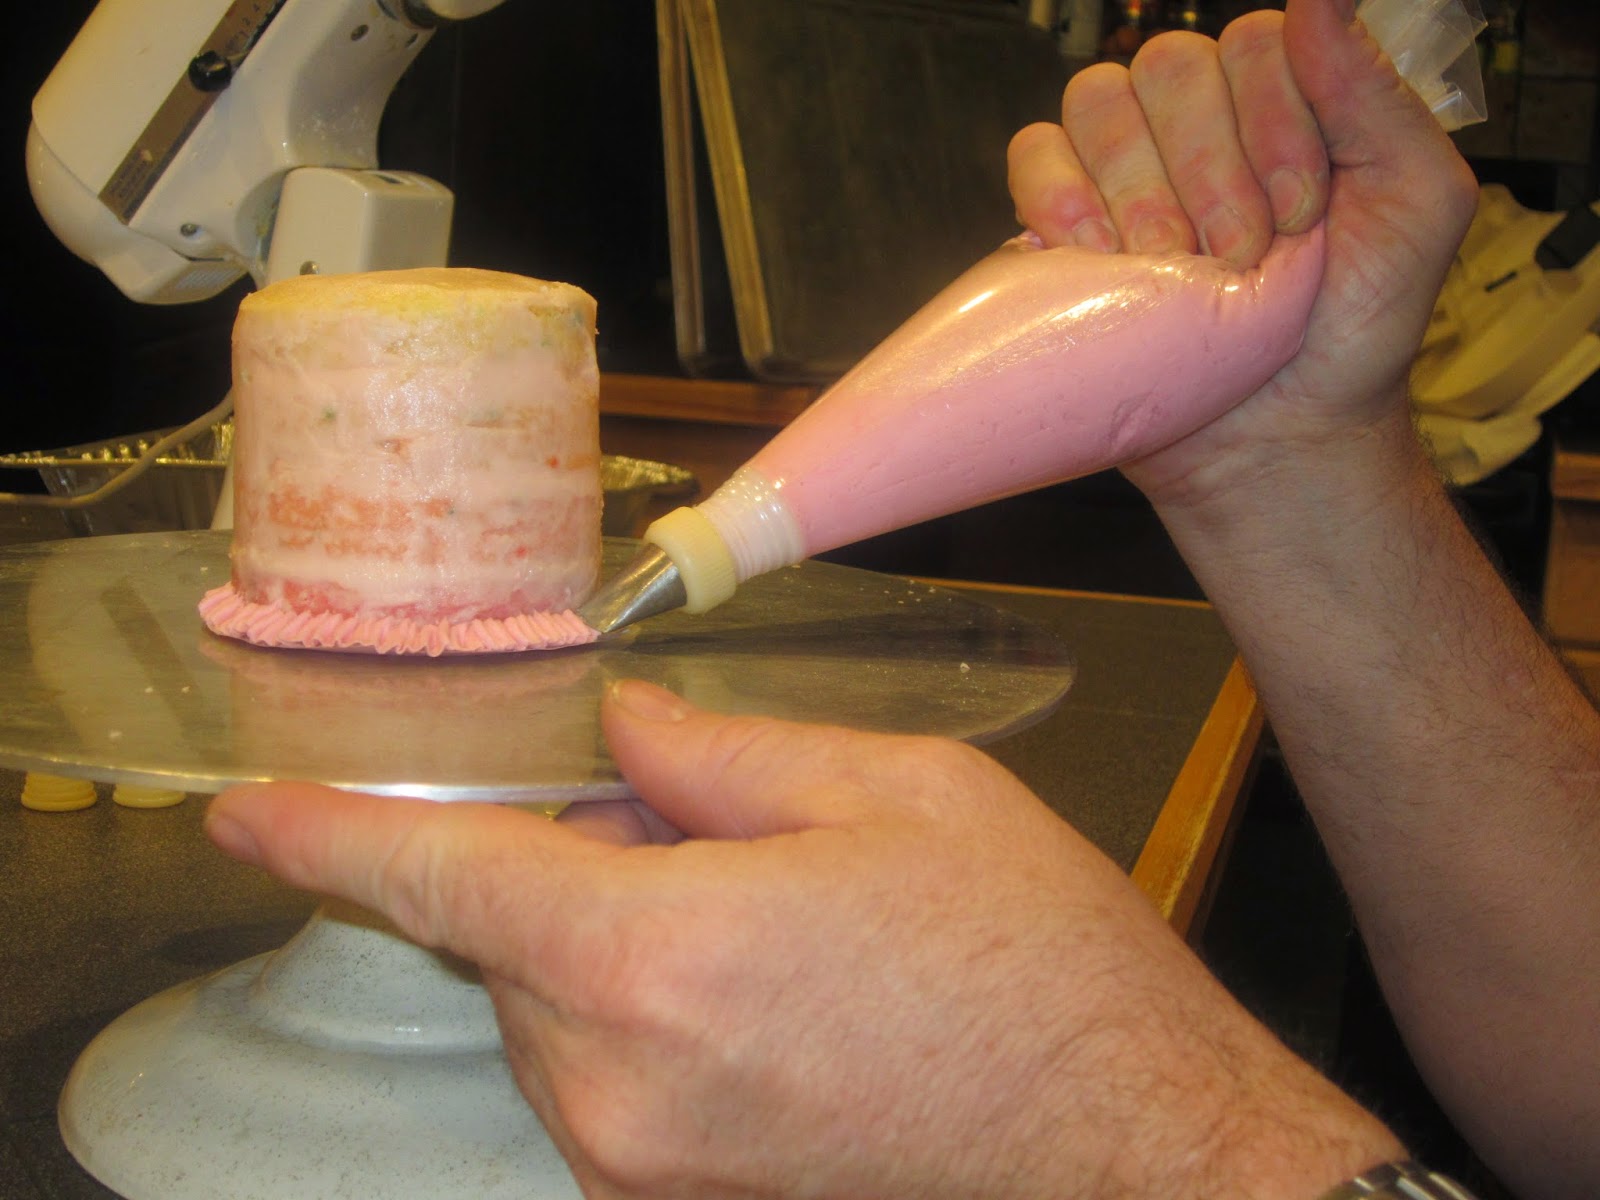
Bob used a little different technique since this was such a small cake. Dev wanted an Ombre look so she made three separate piping bags with different shades of pink frosting for Bob to use.
For those of us watching it looked fast and easy.
The finished product was ADORABLE! He did such a great job!
The birthday girl loved it so much she hardly wanted to disturb the frosting J
The love of buttercream frosting won out in the end.
The cake had a yummy surprise when cut into, Dev had make each layer a different color. So cute!
Doily Wreath
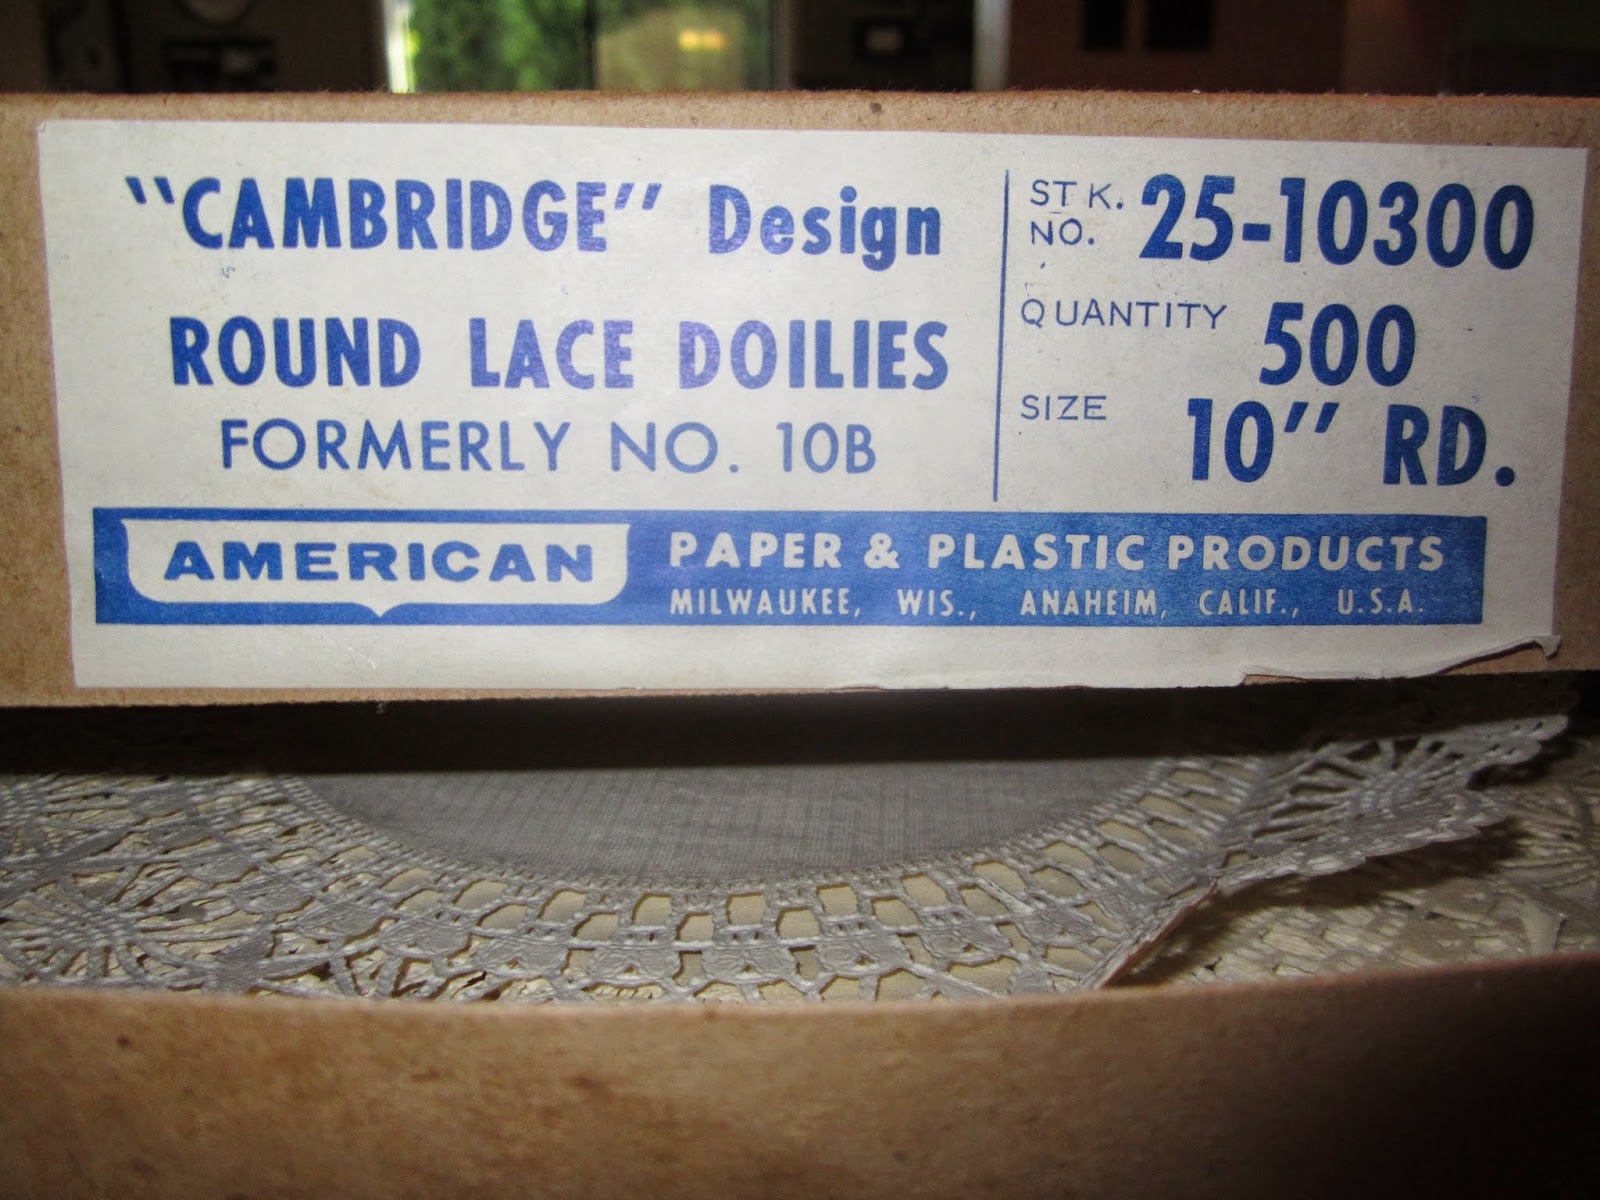
My sister is such a great Estate Sale shopper. I mentioned I wanted to make a doily wall for Amber's baby shower and she produced this box of doilies. The were perfectly aged and beautifully lacy. If the sticker on the top of the first doily was correct she paid $3 for the entire box. WHAT A STEAL!
After the doily wall was finished I figured we needed something for the front door.
Some of the doilies had brown edges. I noticed the box had some damage and deeper into box, the brown edged doilies coincided with the damage. Also the doilies were really delicate and although I tried to be careful separating them, I sometimes tore an edge of the lace. That made them perfect for the wreath as I could hide a bad edge!
There are tutorials on the web that show how to roll the doilies into a cone shape but no matter how I tried it didn't work out. So... I created a cone with a piece of cardstock and used it as a template.
I made sure I used the brown or torn edge at the beginning
Then, using the cardstock cone, I rolled the doily onto itself trying to make sure I kept a sharp point at the end (this helps when putting the wreath together).
I used a piece of old foam core and cut a circle 12" in diameter. I marked the center with a circle so I would know where to place the doily cones. The foam core is not the same thing as the foamboard used in the ruffle wall or doily wall. It is the kind of foam core found in the arts and crafts section of Dollar Tree and other stores).
I tried to divide the circle into four sections by attaching the first four doilies where I thought they should go with hot glue.
I filled in between each section with more doilies. I tried to make sure the lacy edge showed. Also, when I was rolling them, I made sure I rolled each doily in the same direction. The wreath didn't turn out perfect but it was cute.
I covered up the "hole" in the middle by fan folding each doily, folding it in half and using hot glue to attach 16 of those folded doilies together. Then I used hot glue to attach the fan center to the wreath.
The wreath was topped off with a tiny bunting and hung on the door with a ribbon.
Doily Wall
Remember the paper towel Ruffle Wall?
It was made for a bridal shower for my niece Jessica and then used again at the baby shower my son-in-law's sister's threw for my daughter.
There was another shower a couple weeks ago for another niece, Amber. I made the doily wall for that fun party.
It became a double duty decoration as we used it last Saturday at the 1st birthday party my daughter and son-in-law had for their daughter.
The doily wall was made similar to the ruffle wall. I bought a piece of 8-foot by 4-foot foam board from Home Depot. I measured and drew lines every four inches. Then I hot glued the doilies on.
Here is the finished board before finished with the backdrop draping:
Here is the ugly wall of pine cabinets we wanted to cover with out backdrop:
Yes, this is is much better for a party backdrop
It was made for a bridal shower for my niece Jessica and then used again at the baby shower my son-in-law's sister's threw for my daughter.
There was another shower a couple weeks ago for another niece, Amber. I made the doily wall for that fun party.
It became a double duty decoration as we used it last Saturday at the 1st birthday party my daughter and son-in-law had for their daughter.
 |
| Eisley is so dainty as she eats the frosting of f her 1st Birthday cake |
The doily wall was made similar to the ruffle wall. I bought a piece of 8-foot by 4-foot foam board from Home Depot. I measured and drew lines every four inches. Then I hot glued the doilies on.
Here is the finished board before finished with the backdrop draping:
Here is the ugly wall of pine cabinets we wanted to cover with out backdrop:
Yes, this is is much better for a party backdrop
Dip and Scrape Base Icing for Sugar Cookies
Lazy girls find easy ways to get things done.
When I have a ton of sugar cookies to ice and decorate, this is my favorite way to get the base icing applied in a hurry.
This also provides options for further decorating the cookies. While the icing is still wet, colored icing can be piped on top for a seamless "printed on" look. On the other hand, once the icing is completely dry, colored icing can be piped on for the raised design look.
After the cookies are baked and cooled, I make a batch of 5 second Icing.
5 Second Icing Recipe
4 cups powdered sugar
1 tablespoon corn syrup
2 tablespoons water (I always need more but this is a starting point)
1 teaspoon of vanilla extract
Mix all together until it's beautifully thick and creamy. Additional water can be added just a teaspoon at a time if needed. The proper consistency can be checked by drawing a line through the icing with a knife blade. Count 5 seconds (1-1000, 2-1000, etc...) at the 5 second mark, the line should be completely filled in.
Before I make the icing, I prepare a tray by securing a straw to it with a big rubber band. Some people use a wooden skewer. I like to use a huge milkshake straw. It is rounder and seems to make the process much easier.
I pour my icing into the prepared tray and begin by dropping a cookie face down into the icing. I let it take a little rest there for a few seconds. Nighty-night sweet cookie.
Okay that's enough. I lift up the cookie and give it a little twist to make sure the icing covers the entire face of the cookie. I pause just a second to let the extra icing stream off the cookie.
Using the straw, I gently scrape the excess icing from the cookie. After a few cookies there is just a feel to how much pressure to apply so there is just enough icing left on the cookie.
The cookies will stack and store well if left to dry for several hours. The icing will have a shiny hard outer shell.
The same icing, with just a small alteration, can be used to pipe decorations on the cookies. When making the icing add just enough water so that it takes 10 seconds for a knife blade line to fill in.
When I am going for the "printed on" look. I base ice 4 or 5 cookies, then pipe the decoration on. When I am going for the raised look, I base ice the entire batch of cookies. I start piping the decorations on the first cookie I base iced and it works perfectly.
Ruffle Wall
I wanted a pretty 4' x 8' backdrop for Jessica's bridal shower. I love the blackout Panels from Pottery Barn
At $89 these were way beyond my budget. Sew them myself? Ha, with my limited skills, that would be a waste of time and money!
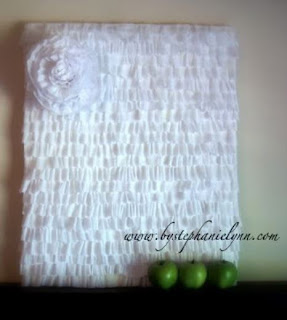
Then I saw this beauty at By Stephanie Lynn. She ruffled a 16" x 20" canvas with crepe paper.
It was perfect, only it would take forever to make the backdrop in the size I wanted using the rolls of crepe paper. Her directions were great, so I tried to think how I could adapt it to my project.
I cannot cut a straight line to save my life and I am lazy, so my fabric of choice was Scott paper towels. The package I bought said "cloth like" or something that made me think I could use it as wonderful pre-cut strips of fabric.
Close up it is apparent that the "fabric" has perforations, but a foot away I don't think anyone would know. In fact after I have told people the ruffles are made from paper towel the first reactions is "no". Then they step up to touch the ruffles and look closely.
I started with a 4 foot x8 foot sheet of 1-inch thick construction foam board. Mine had sheet of silver plastic adhered to the back but I don't think it matters. I used mine in the "portrait" position. I measured and drew a line with a sharpie at 1-inch and then every 5-inches. I liked how close together my ruffles were but it definitely would have looked good even spaced wider apart. Spacing closer together would have made the ruffles fuller or stand out more (I think).
I took 12 feet of paper towel (I think using less could make a looser ruffle and more could make a tighter ruffle). and ran it through the sewing machine doing tuck ruffles all down the length.
The picture below shows the beginning of my stack of ruffles.
When I had made enough (what is this word enough and what does it mean) ruffles, I ran a line of glue down the sharpie lines and then just glued the ruffle to the foamboard.
I wanted to hang my "ruffle wall" so Bob reinforced the top corners with small squares of chipboard.
Then he punched a hole in it so I could string a length of tule through it.
I tied the tule together in behind and we hung it on nails in the wall.
I have to say I was pretty happy with it. I thought it made a cute backdrop for Jessica to open her presents.
Dev's Sister-in-law threw a baby shower for her in June. They also used it for the backdrop.
Subscribe to:
Posts (Atom)


